
24 Jan Scanning the Diefenbunker – Part 3
[This multi-part series will document photographing the Diefenbunker in Carp, Ontario. In the final part, I take on what would be the most difficult parts of the entire bunker.]
Part 3 – Save the Best for Last
I returned to the Diefenbunker a few days after completing Level 300, flush with confidence. Based on my previous experience I figured I could get the last two models done in one evening. I was even going to attempt to go outside for the blast tunnel model, something not usually recommended since sunlight can make scanning impossible. I was up for a challenge, but little did I know the bunker had a few surprised in store for me.
That blasted tunnel!
I got there about two hours before sundown. In order to get the outdoor areas, I would need to be at the front door of the bunker around 5:20pm. I did some quick estimates of the 100-metre blast tunnel and figured I could easily get there with time to spare. I did not account for massive alignment issues. The tunnel, you see, is just a really long, boring corridor. The camera had almost no idea what do align with after the first two scans. It simply refused to work, but I refused to give up at this point. I devised a way of moving the camera around in such a way that it would align with itself. It was much, much slower and required many more individual scan points.
I got to the front entrance ‘shed’ at about 5:08pm. The sun was still beaming down directly, and I took the extra time to take a breather and enjoy the sunset. As soon as the sun dipped below the horizon, I seized the golden hour and worked my way around the exterior of the building. It took a lot longer than I had light for, but I managed to capture the surrounding hill barely. I was done in about three hours and just under 200 scans. I went back inside and went all the way down to the bottom of the facility.
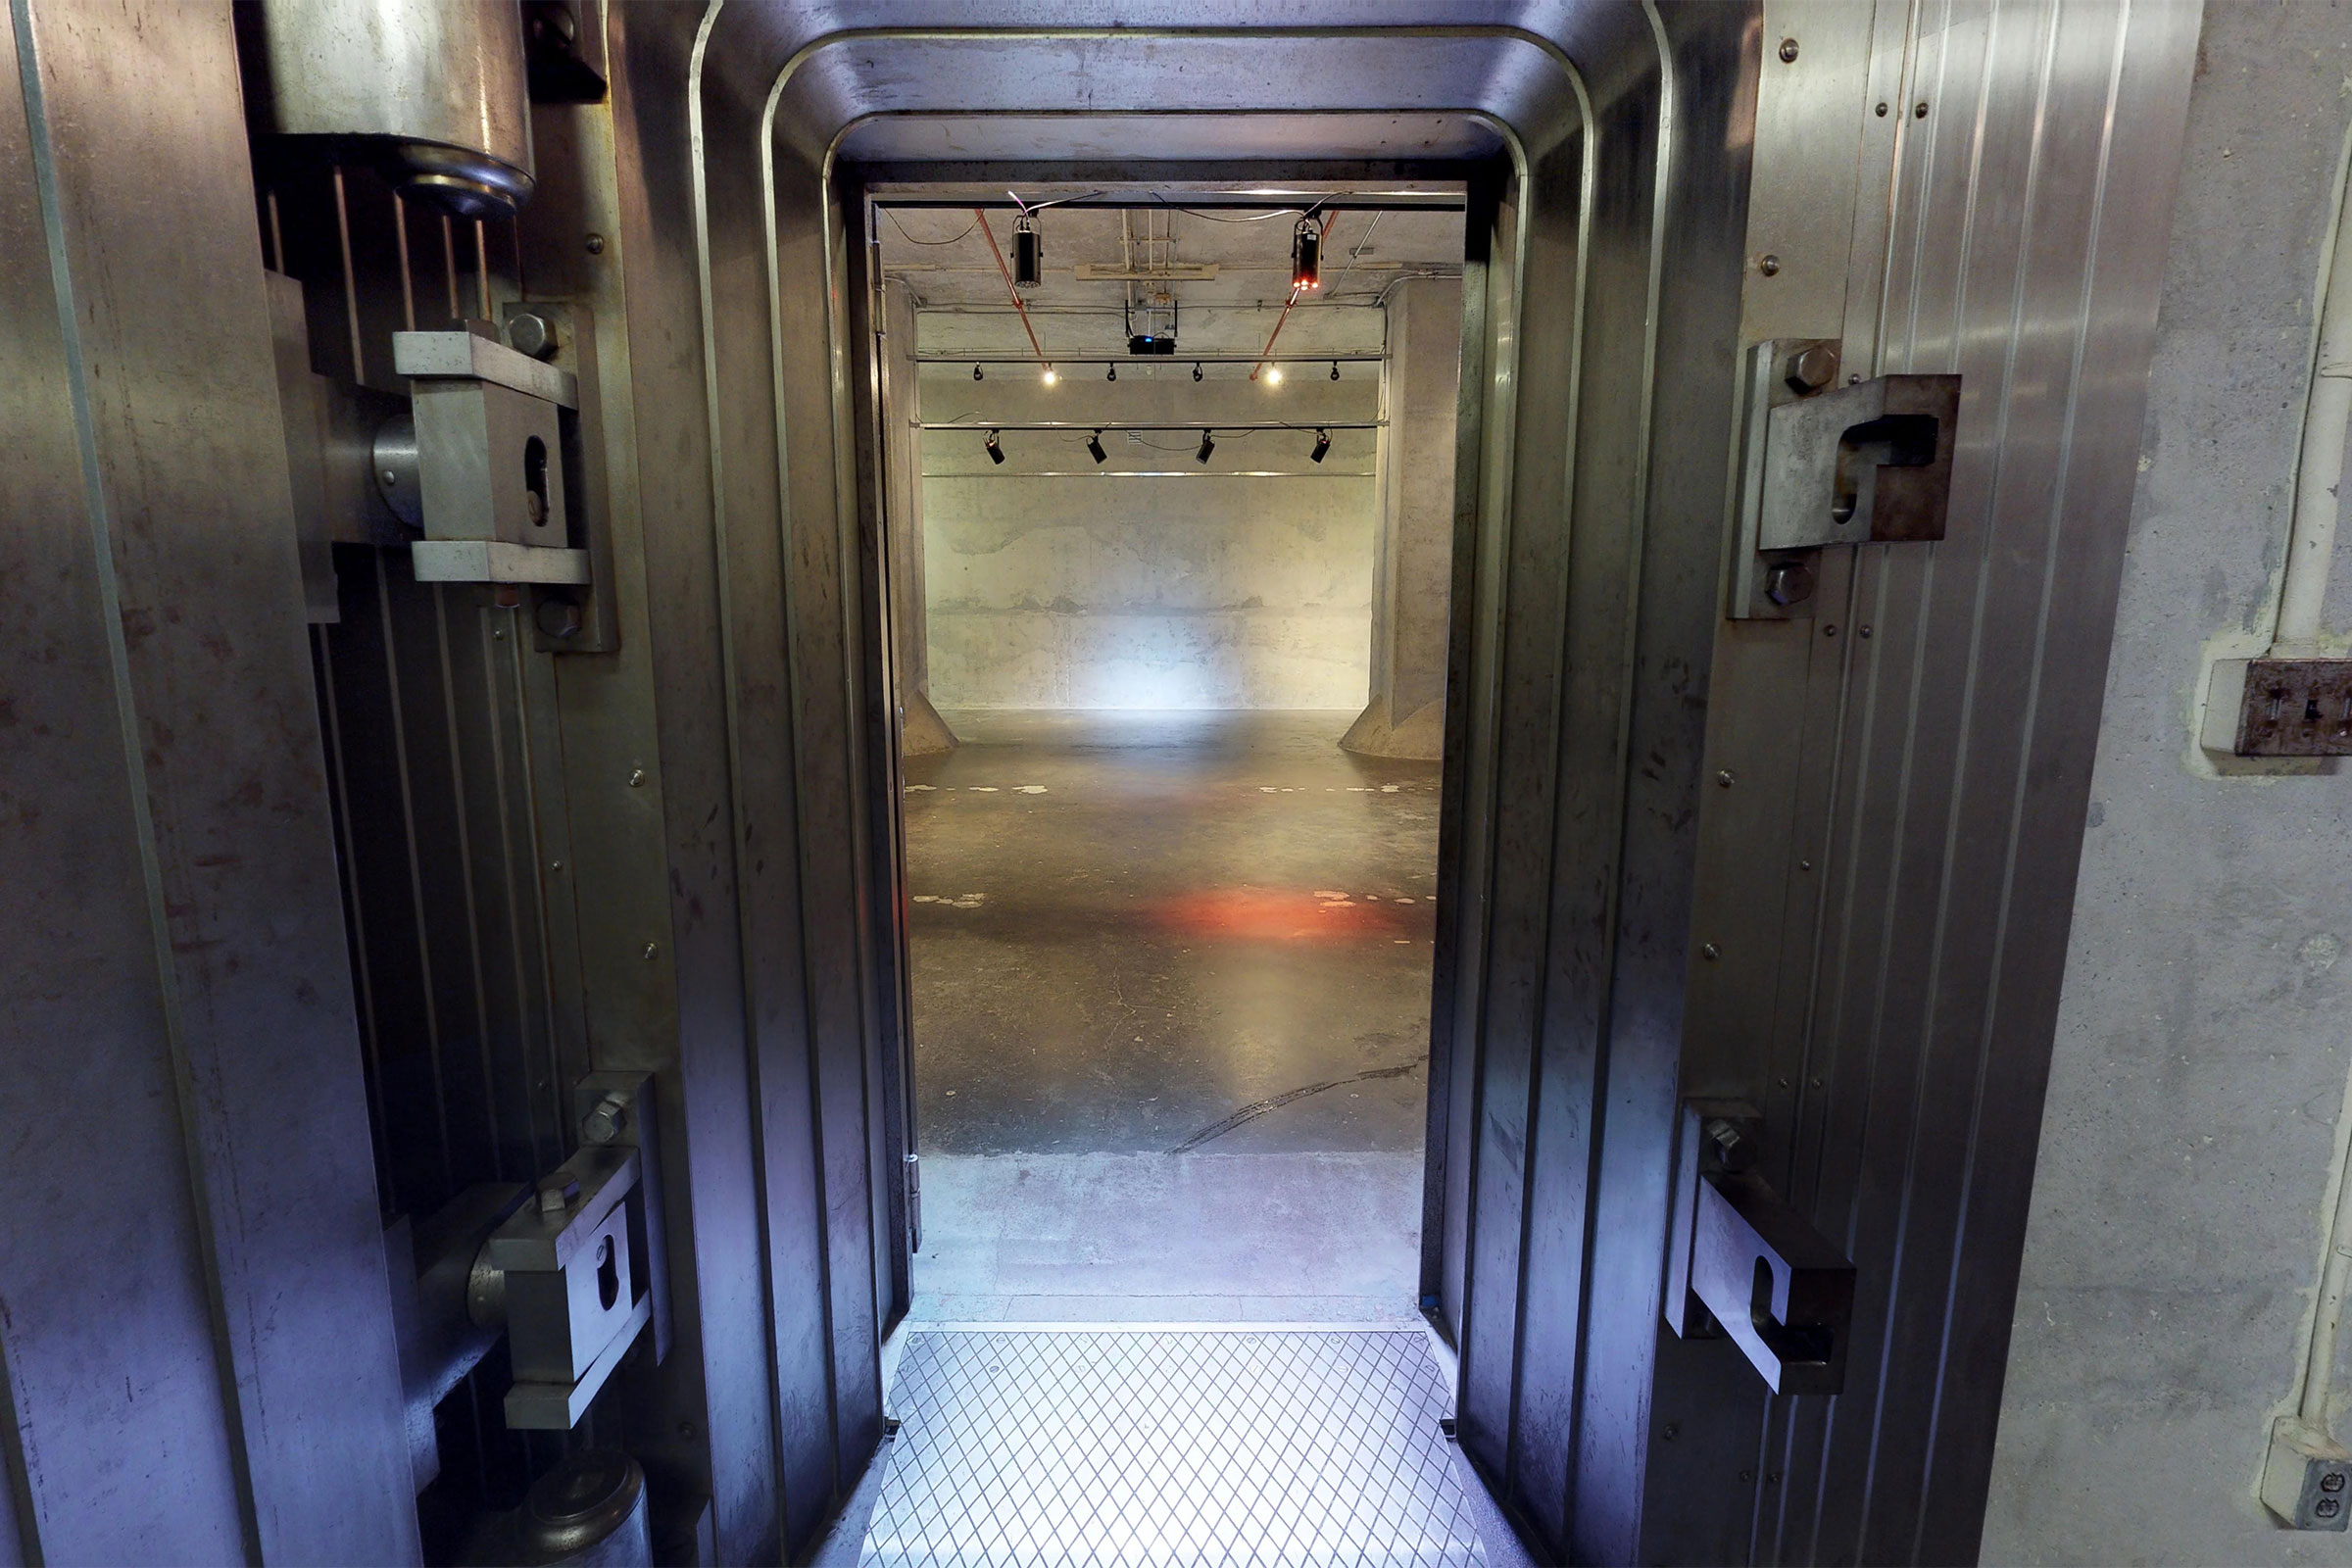
Final Boss: The Vault
After the blast tunnel, I figured there was no space that couldn’t scan. My newfound alignment techniques would be of no use when it came to the huge vault. Specifically, the security tunnel that surrounded the vault itself. It was barely a shoulder-width across, completely unremarkable with no visual distinctions, and had mirrors in every corner to further confound my trusty Matterport Pro2 camera.
I decided to start with the vault itself, working my way from the main stairway down the connecting tunnel. The vault itself went down easy, taking my less than an hour. When I got to the outer tunnel, however, the camera just shrugged at me. Every scan I did near the mirrors would fail. I couldn’t seem to capture more than one side of the corridor. Every successive point scanned in one of the other three hallways would align inside the first. It was infuriating, and there was literally nothing I could do. I had come so far, and to give up at the greatest part of the facility would be a huge loss.
In the end, I found a way to use the very minimal variation in the concrete walls to my advantage. I found if I started a scan facing a divot or crack, the next scan would work as long as I didn’t move more than a few feet. It was tedious and frustrating, but after a few hours of steady camera work I had the outer vault corridor.
The cafeteria and morgue felt like the easiest spaces I’d ever captured. It was such a joy to be able to do a completely open area, with lots of unique visual elements. After the challenges of the previous floors, my confidence was at an all-time high. I few through the last spaces, taking a moment to acknowledge what I had done as the camera spun around for the last time.
I had set out to capture the Diefenbunker, and I had done it. Many people have taken 2D photographs of this space over the years, but I was the first person to use 3D photography to model the entire space. With that behemoth behind me, I am now looking to find my next great challenge!